Tractor Battery Replacement Guide: Keep Your Machine Running Smoothly

The battery is perhaps the most important aspect of a tractor since it is the source of electrical energy to kick start the engine as well as run other key activities.
The batteries would need replacement in the long run even the best ones that will not fail to hold charge anymore. Learning how to replace a tractor battery can be very useful because it often saves time and money, besides which it is not very pleasant.
In this guide, you will learn how to replace a tractor battery, and how to know that your battery needs to be replaced, how to select the right battery and how to maintain it so you can get many years of useful life from your new battery.
Signs Your Tractor Battery Needs Replacement
Before diving into the replacement process, it’s important to know when your battery is due for replacement.
Common Symptoms of a Failing Tractor Battery:
- Difficulty Starting: The engine cranks slowly or doesn’t crank at all.
- Frequent Jump-Starts: If you need to jump-start your tractor regularly, the battery may no longer hold a charge.
- Corrosion: Excessive corrosion on the terminals can indicate an aging battery.
- Dimming Lights: Lights or electrical systems may dim or malfunction due to a weak battery.
- Swollen or Cracked Case: Physical damage to the battery case often signals internal failure.
- Battery Age: Most tractor batteries last 3–5 years. If yours is older, it’s likely time for a replacement.
Choosing the Right Battery for Your Tractor
Not all tractor batteries are created equal. Selecting the correct one ensures reliable performance and prevents unnecessary strain on your tractor’s electrical system.
Key Factors to Consider:
- Battery Size
- Match the physical dimensions of your battery to the space in your tractor to ensure it fits properly.
- Cold Cranking Amps (CCA)
- The CCA rating indicates the battery’s ability to start the tractor in cold weather. Choose a battery with a CCA rating that matches or exceeds the manufacturer’s recommendation.
- Voltage
- Most modern tractors use a 12-volt battery. Check your tractor’s manual to confirm the voltage requirements.
- Reserve Capacity
- This refers to how long the battery can power the tractor’s electrical systems if the alternator fails. A higher reserve capacity is better for heavy-duty tasks.
- Type of Battery
- Lead-Acid Batteries: Affordable and reliable for standard use.
- AGM (Absorbed Glass Mat) Batteries: More durable and resistant to vibration, ideal for rough terrain.
- Brand Compatibility
- Stick with trusted brands like Interstate, Exide, or batteries recommended by your tractor manufacturer.
Step-by-Step Tractor Battery Replacement Guide
Replacing a tractor battery is a straightforward process. Here’s a step-by-step guide to help you do it safely and efficiently.
Tools You’ll Need:
- Wrench or socket set
- Wire brush or terminal cleaner
- Safety gloves and goggles
- Anti-corrosion spray or petroleum jelly
Step 1: Turn Off the Tractor
Ensure the tractor is turned off, with the key removed from the ignition. Engage the parking brake to prevent any movement.
Step 2: Locate the Battery
The battery is typically located under the tractor’s hood or seat. Refer to your tractor’s manual for its exact location.
Step 3: Disconnect the Battery
- Start by disconnecting the negative terminal (black) to prevent accidental short circuits.
- Next, disconnect the positive terminal (red).
- Remove any brackets or clamps securing the battery in place.
Step 4: Remove the Old Battery
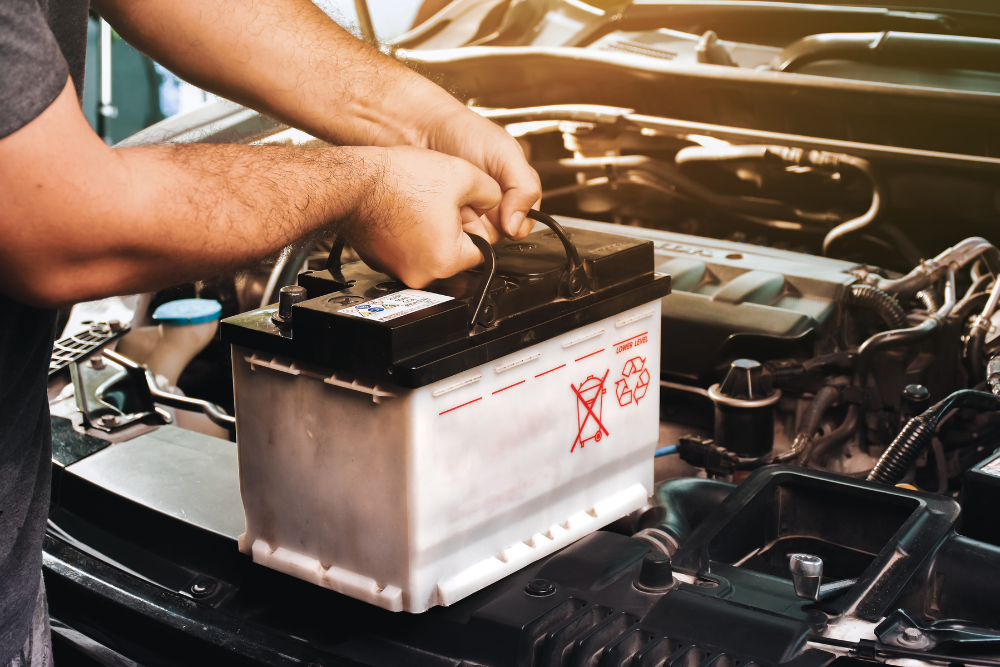
Carefully lift the battery out of its compartment. Tractor batteries can be heavy, so use proper lifting techniques to avoid injury.
Step 5: Clean the Terminals
Use a wire brush or terminal cleaner to remove corrosion and dirt from the battery terminals and cable connectors.
Step 6: Install the New Battery
- Place the new battery in the compartment, ensuring the terminals are oriented correctly.
- Secure the battery using the brackets or clamps removed earlier.
Step 7: Reconnect the Terminals
- Connect the positive terminal (red) first and tighten it securely.
- Then connect the negative terminal (black).
- Apply anti-corrosion spray or petroleum jelly to the terminals to prevent future corrosion.
Step 8: Test the Battery
Start the tractor to ensure the new battery is functioning properly. Check that all electrical systems are working as expected.
Tips to Extend the Life of Your Tractor Battery
To avoid frequent replacements, follow these maintenance tips:
- Regularly Check Battery Connections
- Ensure terminals are tight and free of corrosion. Clean them periodically to maintain a good electrical connection.
- Keep the Battery Charged
- Avoid letting the battery sit discharged for long periods. Use a trickle charger if the tractor is stored for extended periods.
- Inspect the Battery Case
- Look for cracks, swelling, or other damage that could indicate internal failure.
- Protect Against Vibration
- Secure the battery firmly to minimize movement and vibration during use, which can shorten its lifespan.
- Store Properly During Off-Season
- If you won’t be using the tractor for months, remove the battery and store it in a cool, dry place. Charge it every few weeks to maintain its health.
Conclusion
Replacing a tractor battery is a simple yet essential task that ensures your equipment remains operational and efficient. By knowing the signs of a failing battery, choosing the right replacement, and following proper installation and maintenance practices, you can keep your tractor running smoothly for years to come.
If you’re in need of a new battery, check out trusted online retailers.
Take care of your tractor battery, and it will take care of your farm or property work without interruptions!
